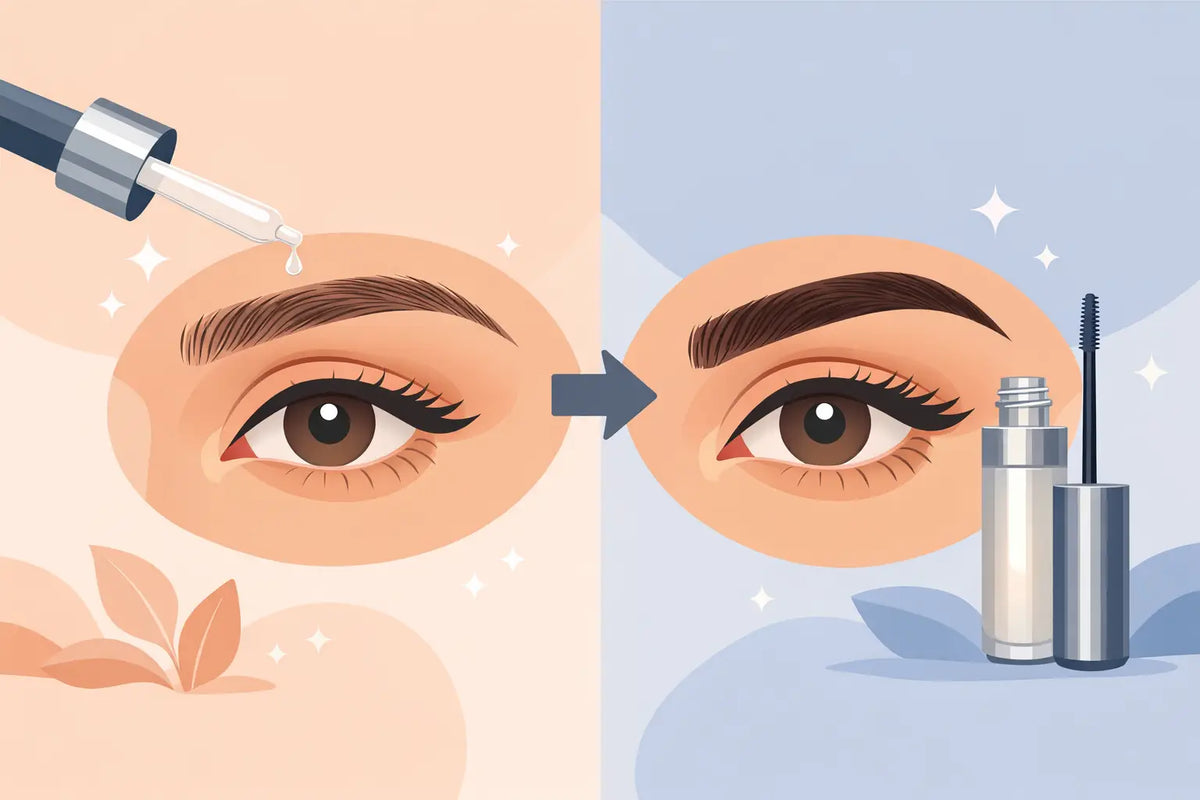
Your brow pencil can create a polished five-minute fix. But a consistent brow serum before after routine is about something more satisfying: waking up to brows that look naturally fuller, softer, and more like you. Think less rushed filling-in, more effortless definition before your first coffee.
The best results tend to look believable, not dramatic overnight. A good brow serum supports the look of healthier, conditioned brows over time, especially when sparse areas are connected to over-plucking, dry skin, rough makeup removal, or simply the way your brows naturally grow. The real glow-up is subtle at first, then suddenly very easy to spot in photos.
What Brow Serum Before After Results Really Look Like
A realistic before-and-after is not usually about going from barely there to bold, ultra-dense brows in a week. It is about improving the brow hair and skin environment with steady care. You may first notice that brow hairs appear smoother, less brittle, and easier to brush into place. From there, the brow can start to read as more even, especially at the front and along the upper line where small gaps can make shape feel less defined.
Before using serum, many people describe their brows as patchy, flat, or difficult to style. The hairs may point in different directions, look dry under brow gel, or leave a shape that feels incomplete even after makeup. After several weeks of regular use, the difference may show up as a more polished outline, finer-looking sparse spots, and brow hairs that have a healthier sheen.
That said, results depend on why your brows are sparse. If you have naturally fine brows, you may see a softer, more conditioned effect rather than a major density change. If you are recovering from years of tweezing, patience can be especially rewarding, but regrowth varies from person to person. Hormonal changes, skin conditions, medications, and certain forms of hair loss can also affect brow growth. A serum is a beauty ritual, not a guaranteed fix for every concern.
Your Brow Serum Timeline: Weeks, Not Days
Brows have their own rhythm. Treating a brow serum like an overnight makeover only sets you up to miss the sweet, gradual changes that make the routine worth it.
Weeks 1 to 2: The conditioning phase
This is when the ritual begins to feel luxurious. With consistent use, brow hairs may look more hydrated and feel more flexible when you brush them up. You are also building the habit, which matters more than applying a large amount once in a while. Keep your expectations quiet and your routine consistent.
Weeks 3 to 6: The details get better
You may notice a slightly more even texture, fewer hairs that snap or look coarse, and a shape that holds more easily under a clear gel. Take a photo in the same lighting at the start, then again around week four or six. Our memories are not always reliable, but side-by-side photos are wonderfully honest.
Weeks 8 to 12: The before-and-after moment
For many people, this is when the difference becomes clearer. Sparse sections can look less obvious, brow hairs may appear more substantial, and your daily makeup routine may require less effort. The change is often most flattering when it is understated: your brows simply frame your face with more ease.
Beyond three months: Keep the good energy going
If you like the results, stay consistent. Brow care works best as maintenance, much like SPF or removing your makeup before bed. If you stop, you may gradually return to your usual brow baseline. That does not mean the serum failed. It means your brows responded best to ongoing care.
How to Use Brow Serum for Your Best Results
A beautiful brow routine should take less time than choosing a filter. Apply your serum to clean, dry skin along the brow line, following the product directions. If you wear makeup, make sure foundation, brow pencil, and sunscreen are fully removed first. A clean canvas helps keep the application simple and intentional.
Use a light hand. More product does not equal faster results, and applying too much can leave residue that ends up in your hairline or eyes. Let the serum settle before adding other products. If you use it at night, make it the small final step after cleansing and your usual skincare, right before you turn down the lights.
Consistency is the whole mood. Choose a time you already protect for yourself, whether that is after brushing your teeth in the morning or during your evening wind-down. Pair it with an eye mask, a favorite playlist, or a few quiet minutes away from your phone. Everyday rituals, elevated.
Small Habits That Can Make a Visible Difference
Serum is the star, but how you treat your brows the rest of the day matters too. Avoid aggressive rubbing while removing makeup, especially with long-wear brow products. Press your makeup-removing cloth or cleanser gently over the brow area, then sweep away product instead of scrubbing back and forth.
Give the tweezers a little space. Constantly chasing one or two tiny hairs can gradually take away from the fuller shape you are trying to build. If you are reshaping your brows, consider letting them grow for several weeks before making major changes. A professional brow artist can help you work with your natural arch rather than against it.
Also be selective with hold products. Strong gels can create a lifted look, but repeated tugging during removal may stress delicate hairs. Use a gentle cleanser, take your time, and brush brows in the direction they naturally want to grow. The goal is soft definition, not a battle with your face.
How to Take a Fair Before-and-After Photo
Lighting can make brows look completely different from one bathroom mirror to the next. For a useful comparison, take your first photo with clean brows in daylight or the same well-lit indoor spot you can return to later. Face forward, relax your forehead, and skip brow makeup for both photos.
Take a second photo after four weeks, then again at eight and 12 weeks. Keep the camera angle and distance as close as possible. Look beyond a single gap or hair. Notice the overall effect: Does your brow shape feel more balanced? Are the hairs easier to style? Do you reach for your pencil less often?
A before-and-after can also be emotional. Maybe you feel comfortable running out for errands with brushed-up brows and sunscreen. Maybe your makeup routine feels lighter. Those are real results too, even if they do not fit into a dramatic social media reveal.
When to Pause and Ask a Professional
Beauty should feel good. Stop using a brow serum if you experience stinging, redness, swelling, itching, or irritation, and speak with a healthcare professional if symptoms persist. A patch test before your first full application is a smart move, particularly if your skin is sensitive or you are trying a new active formula.
If brow thinning is sudden, severe, or paired with other symptoms, a dermatologist can help identify what is going on. This is especially true if you have scaly patches, pain, or loss of hair elsewhere. There is no need to quietly troubleshoot a bigger concern with more product.
For everyday sparse-looking brows, the most flattering approach is rarely extreme. At Happy Hour Beauty, we love the kind of maintenance that feels like a little reward: clean skin, a few careful swipes of serum, and the confidence of brows that look more cared for every time you catch your reflection. Keep the ritual gentle, take your photos, and let consistency do its quietly glamorous thing.