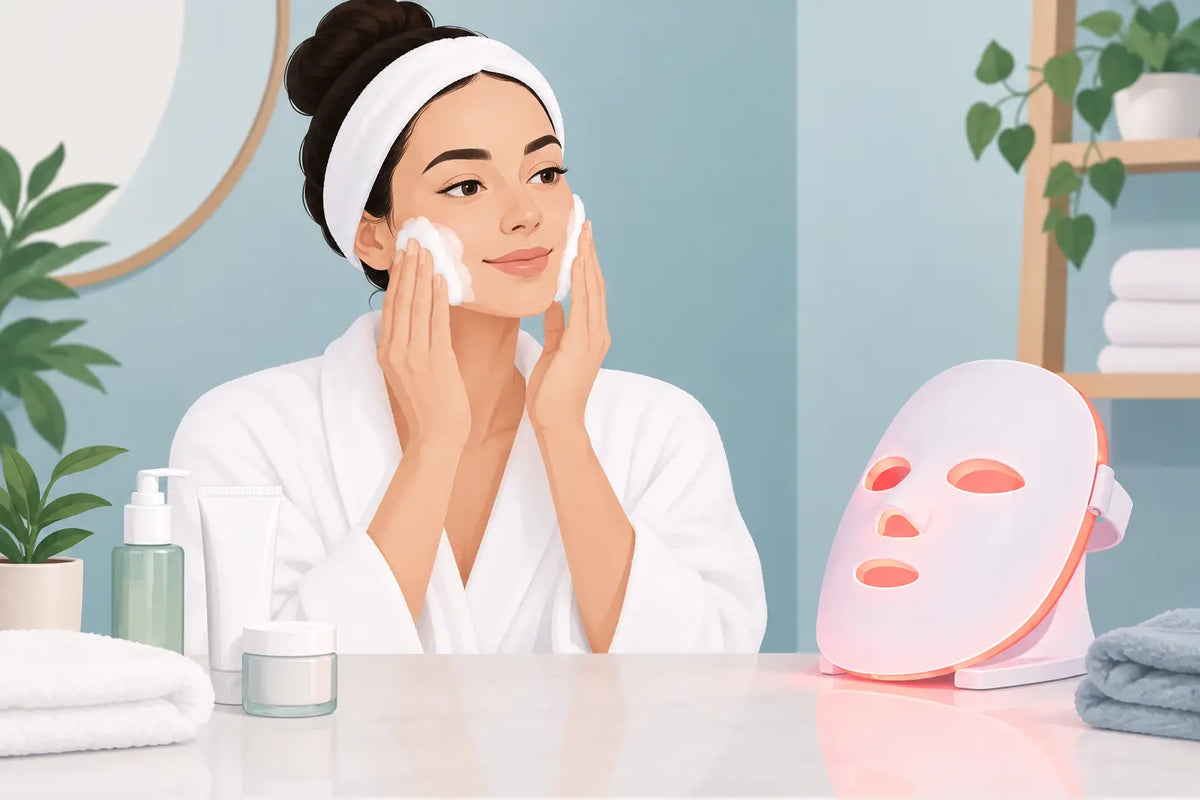
Your LED mask moment should feel like the calmest part of your routine: clean skin, a quiet few minutes, and that just-took-time-for-myself glow. To prepare skin for LED therapy, think less is more. The goal is a freshly cleansed, fully dry complexion with nothing between your skin and the light.
A beautiful LED ritual does not need a crowded lineup. In fact, piling on serums, oils, sunscreen, or thick moisturizer before your session can make things messier than they need to be. A simple setup helps your device sit comfortably, keeps the experience low-maintenance, and lets you ease into a routine you will actually want to repeat.
Why Skin Prep Matters Before LED Therapy
At-home LED therapy uses specific wavelengths of light to support different skin goals. Red light is often used in routines focused on visible firmness, a more even-looking tone, and a fresh glow. Blue light is commonly chosen for blemish-prone skin. Your device instructions should always be the final word on settings, session length, and use around the eye area.
What you put on before the mask matters because product residue can create a barrier between the device and your skin. It can also leave your mask less clean, especially if you are wearing makeup, SPF, or richer skincare. Starting with bare skin keeps the ritual uncomplicated and gives you a clean canvas for the rest of your routine.
There is another benefit: consistency. When your prep is as easy as cleanse, dry, mask, moisturize, LED therapy starts to feel less like a special project and more like your favorite evening reset.
How to Prepare Skin for LED Therapy
Start by removing makeup and sunscreen
Even on a light-makeup day, take everything off first. Foundation, concealer, tinted SPF, mascara, and long-wear lip products can linger around the hairline, jaw, and nose. Use your preferred makeup remover, then follow with a gentle facial cleanser.
This is an especially good place for a soft makeup-removing cloth. It makes the first cleanse feel more like a little exhale than another task at the sink. Avoid aggressive rubbing, particularly around the eyes and any active breakouts. Your skin should feel clean, not squeaky or tight.
If you are coming home after a full day of city air, gym time, or sunscreen reapplications, a double cleanse can be a worthwhile extra step. Start with an oil cleanser, balm, or makeup remover, then use a gentle water-based cleanser to lift away what remains. If your skin is dry or sensitive, one thorough cleanse may be plenty.
Pat skin completely dry
After cleansing, gently pat your face dry with a clean towel. Most at-home LED masks are intended for dry skin, so do not put yours on while your face is still damp from washing. Check the instructions for your specific device if you are unsure.
Dry skin also helps the mask rest more comfortably against your face. Pay attention to the sides of your nose, hairline, and jawline, where water can hide. This is a tiny step, but it makes the ritual feel more polished.
Skip pre-mask skincare unless your device says otherwise
This is the part that surprises people who love a ten-step routine. Before an LED session, skip your usual serum, facial oil, moisturizer, and SPF unless your device specifically instructs you to use a compatible product.
LED masks are not like microcurrent tools that may call for conductive gel. In most cases, bare, dry skin is the simplest choice. Rich creams can transfer onto the device, and oils may make it harder to keep clean. Save your favorite hydrating layers for after your session, when they can become the comforting final act.
If your complexion gets dry quickly after cleansing, keep your LED session short and move straight into moisturizer afterward. A few minutes with clean, bare skin should not turn your routine into a compromise.
Keep exfoliation separate when skin feels sensitive
A smooth, freshly exfoliated face can sound like the perfect canvas, but it is not always the most comfortable one. If you have just used a strong acid, scrub, peel, retinoid, or at-home resurfacing treatment, your skin may be more reactive than usual. Consider making that an off-night for LED therapy, particularly if you are feeling stinging, redness, flaking, or tenderness.
This is not about making your routine overly cautious. It is about reading your skin. Some people can pair LED sessions with active-focused routines without an issue, while others do better alternating nights. Your glow does not need to be rushed.
A Five-Minute Pre-LED Ritual
The best routine is the one that fits between dinner plans, laundry, and a very deserved early bedtime. Keep your prep easy:
1. Remove makeup and SPF.
2. Cleanse gently.
3. Pat your face fully dry.
4. Put on your clean LED mask and follow its timing instructions.
5. Finish with hydrating skincare after the session.
That is it. No complicated cocktailing, no extra steps for the sake of extra steps. The treatment itself is the moment.
What to Apply After Your LED Session
Once your session is finished, this is your cue to bring back the softness. Apply a simple hydrating serum, moisturizer, or barrier-supporting cream that feels good on your skin. If you use eye patches, they can be a lovely post-mask add-on for a visibly refreshed, well-rested look.
During the day, finish with broad-spectrum SPF 30 or higher. LED therapy does not replace sunscreen, and daily sun protection remains one of the most useful habits in any glow-focused routine. At night, you can keep things cozy with a moisturizer or a bio-collagen mask when your skin wants extra comfort.
If you are managing breakouts, resist the urge to throw every spot treatment on immediately after your session. Use the products your skin already tolerates well, and introduce anything new one product at a time. A pimple patch can be a simple, targeted option for an individual blemish without coating your whole face in actives.
A Few Times to Press Pause
LED therapy should feel comfortable, never like something you have to push through. Do not use a device over irritated, sunburned, broken, or actively inflamed skin unless a dermatologist has advised you to. If you have a medical condition affected by light, take medication that can cause photosensitivity, are pregnant, or have an eye condition, check with your healthcare professional before starting an LED routine.
Also, do a quick device check before every use. The mask should be clean, dry, and free of product buildup. Follow the manufacturer's directions for cleaning and eye protection rather than improvising. A well-cared-for device makes your self-care ritual feel better from the first wear to the fiftieth.
Make It a Ritual You Look Forward To
LED therapy works best as a steady habit, not a once-in-a-while rescue plan. Choose a time that already belongs to you: after your evening cleanse, while you are winding down with a show, or before getting ready for a big night out. A Happy Hour Beauty LED mask can turn those few quiet minutes into a small act of maintenance that feels decidedly more luxurious.
Keep the setup visible, keep the prep simple, and let your skin set the pace. Some nights call for a full glow ritual. Others call for a clean face, your mask, and getting into bed early. Both count, and both are very happy-hour ready.